With the iPhone getting more sophisticated with every release, the race to innovation in mobility is taking on epic proportions. The demand for simpler, faster and better technology is breaking new grounds every day. Adding a new dimension to this man-machine relationship is the 3D touch. In addition to the tap, swipe and pinch gestures, iPhone users can now utilize the Z-axis on their phones to unlock a world of nuanced possibilities.
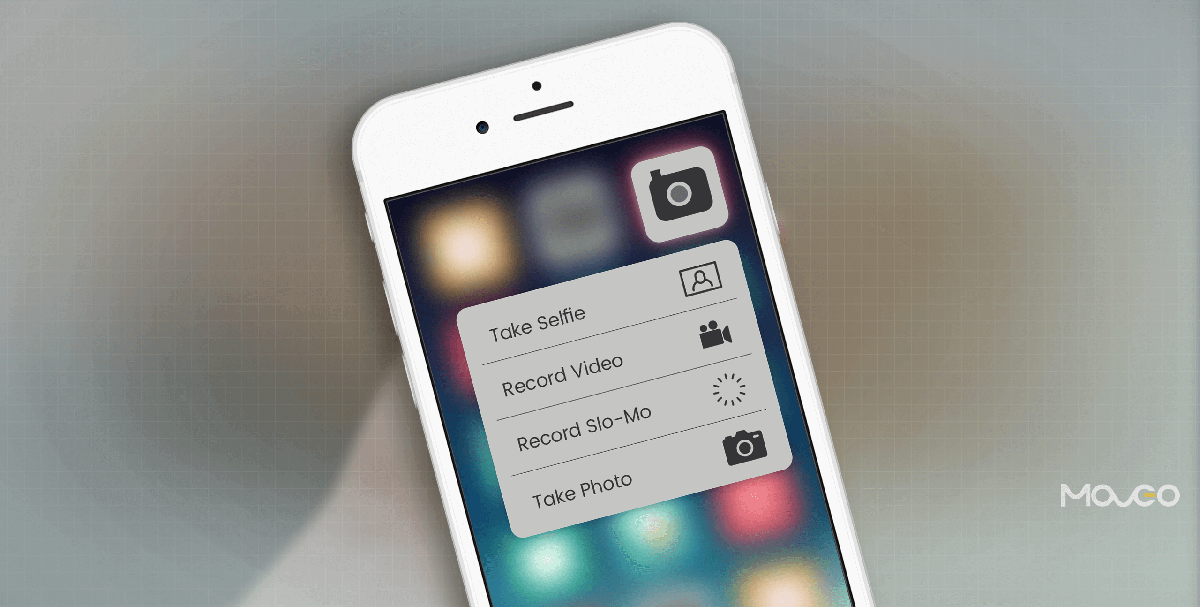
There are just so many amazing ways iOS developers can make the best of this 3D touch feature, which was introduced in the iPhone 6 and iPhone 6s. It is powered by specialized pressure sensitive hardware and can be used for some remarkable things. The much anticipated peek and pop feature lets you view app functions and even take in-app actions without actually opening the app, simply by hard pressing it. Gaming takes a whole new leap as 3D force touch can help modulate speed, thrust, and force without having to switch buttons. Quick actions can make adding, deleting or moving objects a breeze and pressure sensitivity can open up a world of creative apps. A painting app can adjust brush thickness or even color intensity based on pressure. The possibilities are endless.
Implementing 3D Touch in your app
If you too cannot wait to get started with 3D Touch, go right ahead and try to build something with it. Here are a few basics you will need to cover in order to get started with 3D Touch –
What you will need
Xcode 7 and the higher versions including Xcode 9 support 3D Touch development. It even makes all the debugging tools available. You can simply download some sample code to get started. Some of the Xcode projects that are most essential are UIApplicationShortcutItem that demonstrates static and dynamic quick actions on home screen, and UIViewController previewing APIs that demonstrate how the peek and pop work along with quick actions. Another useful Xcode project you can download is the TouchCanvas. It demonstrates the usage of new force properties in the UITouch class.
Checking for 3D Touch availability
An important first step is to ensure that a device supports 3D Touch. iPhones older than the iPhone 6 do not support it and even in the phones that do, users have the option to turn it off. It is therefore vital that you check for 3D touch support at runtime using forceTouchCapability and in the absence of it, make appropriate provisions such as the UILongPressGestureRecognizer in your app to make it work without 3D Touch.
Force Properties
The UITouch class in iOS 9 has two new properties for the implementation of 3D Touch – force and maximumPossibleForce. Force tells you how firm a touch is and maximum possible force, self-explanatorily, tells you the maximum force a touch can have.
Creating a 3D Touch App
Now, let’s learn how to create an app that uses the 3D Touch capability. An app that can turn your iPhone into a digital scale could be an interesting idea, to begin with. Ryan McLeod already created Gravity based on the same idea, but the app, though fully functional, was rejected for slightly ambiguous reasons. However, a lot of innovative derivations can be made with a basic digital scale and you could try to come up with something Apple will approve after all. So let’s get coding.
When a user touches the phone, touchesBegan is called. touchesMoved needs to be called if the finger slides over the screen and touchesEnded or touchesCancelled depending on what happens next. Now, for our app, we just need touchesMoved. Firstly, make sure that there is only one UITouch object in touches by ensuring that the touches.first value is nil.
override func touchesMoved(touches: Set, withEvent event: UIEvent?) {
    if let touch = touches.first {
        if #available(iOS 9.0, *) {
            if traitCollection.forceTouchCapability == UIForceTouchCapability.Available {
                // 3D Touch capable
                let force = touch.force/touch.maximumPossibleForce
                forceLabel.text = "\(force)% force"
            }
        }
    }
}
Thanks to the pressure sensitive hardware on the new iPhone 6 and higher models, you should by now be able to see the force percentage when you press the screen. This percentage can be converted into gram values using some simple mathematical formulae. Ryan McLeod in his Gravity project found that the iPhone sensor will only hold a maximum of ~385 grams. So the maximumPossibleForce in this case should be 385 grams or close to 3.8 Newtons. Now if you just multiply the force percentage by 385, you will get a gram measure for the touch.
override func touchesMoved(touches: Set, withEvent event: UIEvent?) {
    if let touch = touches.first {
        if #available(iOS 9.0, *) {
            if traitCollection.forceTouchCapability == UIForceTouchCapability.Available {
                if touch.force >= touch.maximumPossibleForce {
                    forceLabel.text = "385+ grams"
                } else {
                    let force = touch.force/touch.maximumPossibleForce
                    let grams = force * 385
                    let roundGrams = Int(grams)
                    forceLabel.text = "\(roundGrams) grams"
                }
            }
        }
    }
}
That should do it. For objects exceeding 385 grams, an appropriate messaging like ‘385+ grams’ can be conveyed.
To make the app reset to zero after the object is removed, touchesEnded method needs to be implemented.
override func touchesEnded(touches: Set, withEvent event: UIEvent?) {
    forceLabel.text = "0 gram"
}
That’s it. You’ve just created a basic digital scale app. There’s a whole lot more you can do further, like create a ‘weight compare’ or a ‘determine the heavier object’ app. You can add quick actions to the app and explore a lot more options with the 3D Touch APIs.
Wrapping Up
When it comes to the possibilities with 3D Touch, your imagination is the limit. The new pressure sensitive hardware is truly a remarkable feat by Apple and iOS developers would be remiss if they did not leverage it to create some truly delightful, innovative and super-useful apps. It could be folded into a fitness app with portion control, a baking app with weighted measurements, a science experiment app for students and a whole lot more. So go on, let your imagination take you to new places. Just be sure to share your progress with us in the comments section. Happy coding.
Read also:Decoding Xcode 9 – 7 Things You Should Be Aware Of