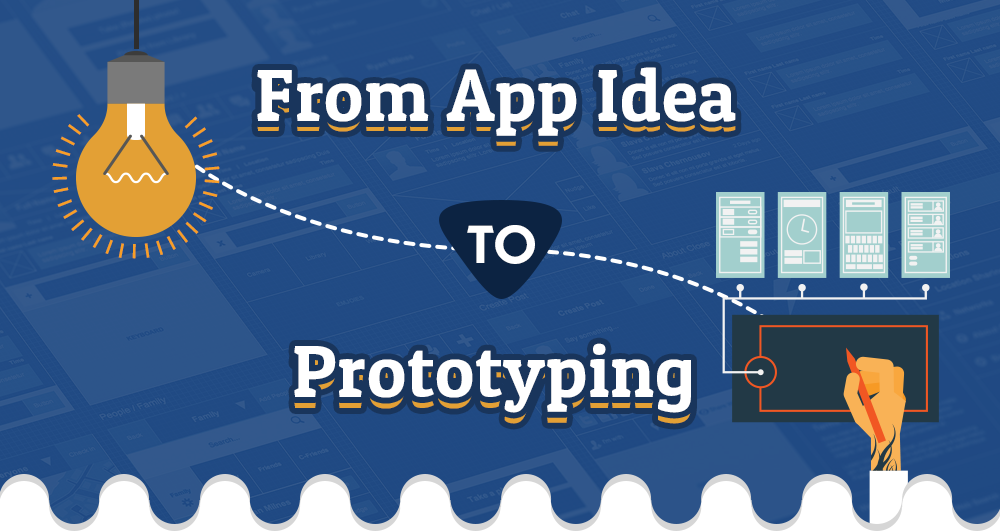
Mapping the App Development Journey
- From Idea to Prototyping
Developing an app begins with a truckload of excitement. New ideas, amazing designs, fascinating features and functionalities, there are so many stimulating things that make app development an amazing project to take on. Like all things however, there comes a middle phase where matters slow down, designs need to be reviewed, features need to be rethought, code needs to be tested and a bevy of other technicalities that are crucial, yet less than thrilling. This plateau often leads to a dampening of spirits among teams trying out app development for the first time. Knowing the journey of an app’s development cycle and all the steps it entails can facilitate a better understanding of the process, helping clients set the right expectations from their development teams.
That is the motivation behind our creating this infographic that helps break down the process of app development, right from the birth of an idea to the stage where you have a fully functional prototype in your hands. From validating the app idea by identifying a real world problem, to performing market research, sketching the basic designs and then making wireframes and prototypes, an app goes through a number of phases. So let’s take a look at all of these:
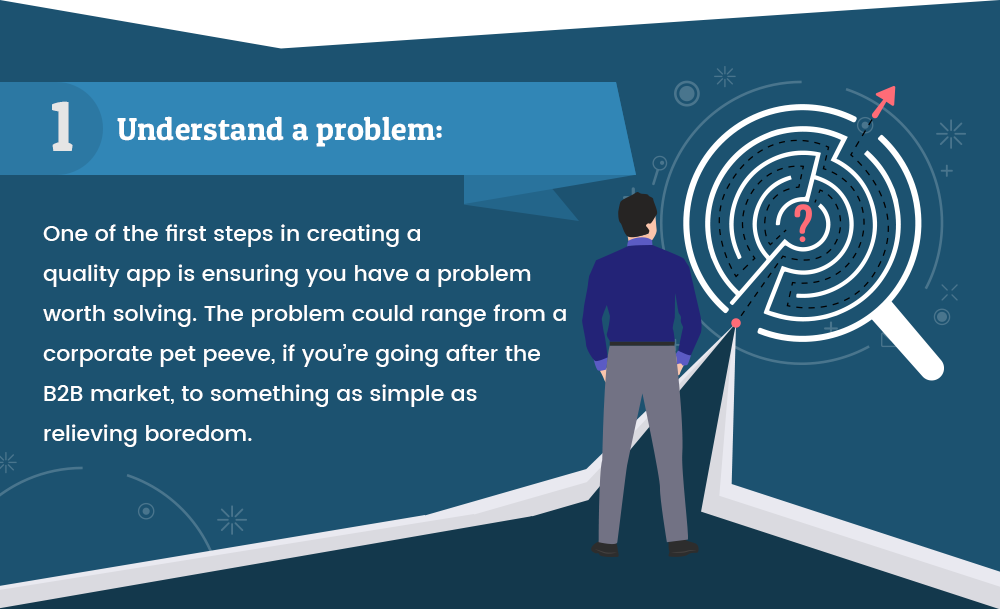
The first thing a successful app needs is a problem. Yes, that’s right. Where there’s a problem, there’s an app with a solution. So before you delve into app development, find a real problem your target audience is dealing with, that no one has an effective solution to yet. Not always requiring a reinventing of the wheel, this could be as simple as doing the same old thing like the morning news, but making it infinitely better than anyone else in at least one area – like offline reading, reading out text, or curated to individual interests. The idea is, either bring in an unprecedented service, or provide a simple service, but with a difference.
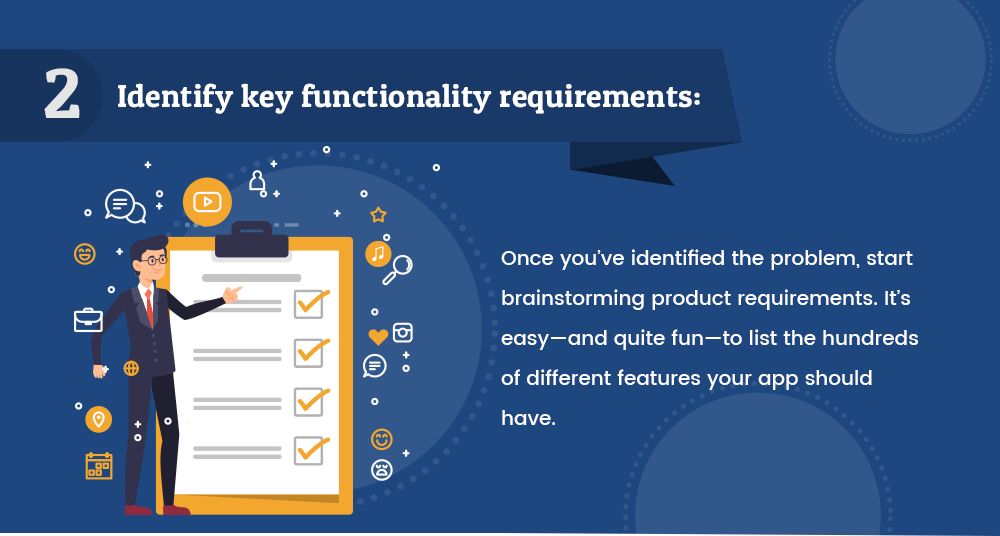
So every app is basically a way to get something specific done. And in the way to do that, it offers features and functionalities that make the job faster and easier than the others. What features do you want to see in your app? Even before assessing their codeability, you need to have a vision of everything you want your app to be able to do. So make a list of all the features you want to add in there.
Globally, the market for Mobile App Development is expected to grow at a CAGR of more than ~14% from 2016 to 2022. To really make your app worthwhile though, you’ll need more insight than that.
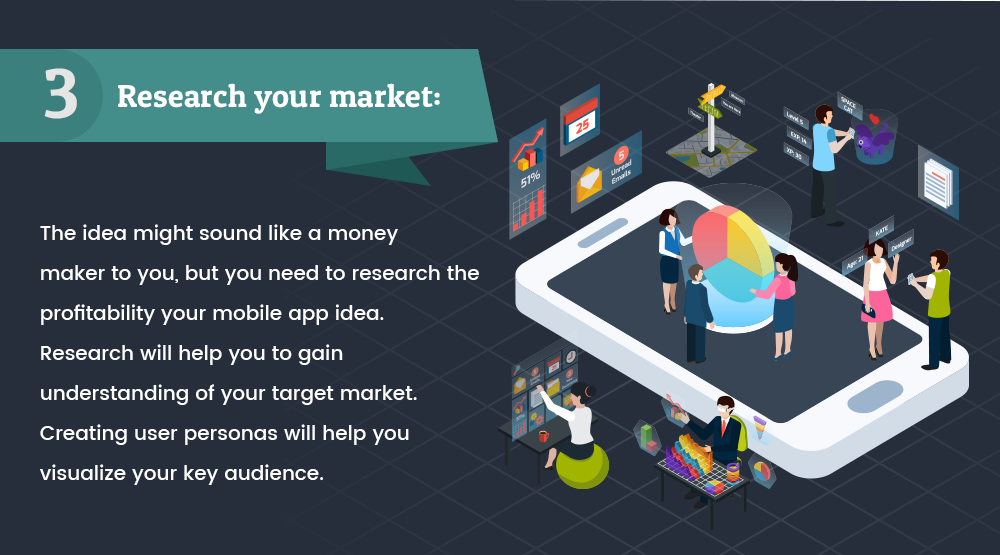
When you first have a lightbulb moment, that is when an app idea first dawns on you, it seems like the most brilliant thing in the world. And maybe it is, but will it make money? If you’re hoping to build a business and make a decent ROI, you need to already consider the monetization potential of the app before you invest any money into it. Is there a set of people who need such an app and can’t wait to download it? Will there be people willing to pay for it? Is there a demand for such an app? Are there advertisers who would like to advertise with your app? A thorough market research will help you assess the monetization potential of your app as well as guide the production line, so you better understand where and how much money to spend as well as how to market the app.
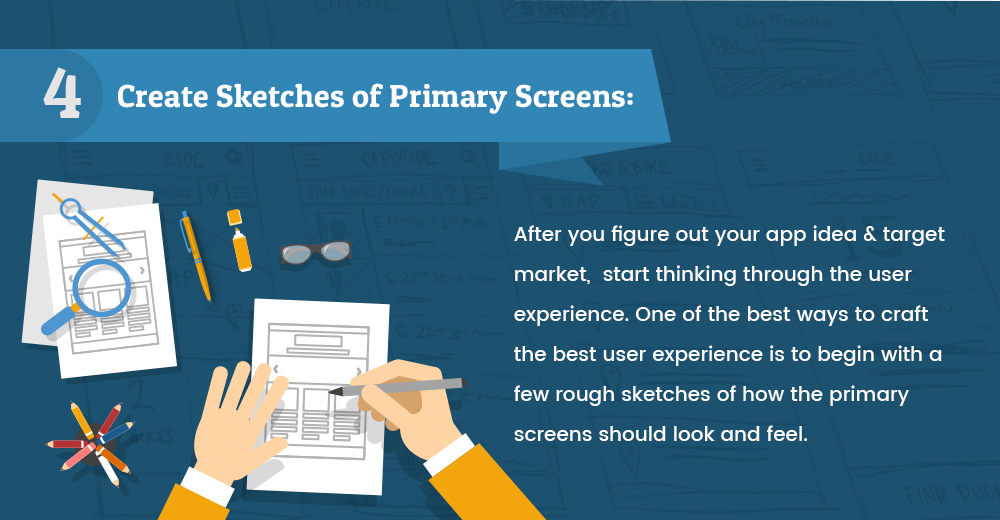
Once you’ve figured out your market and know the kind of features and tools you want your app to have, it’s time to start sketching. Make the basic block sketches of the kind of app design you have in mind. This is where you think about your user experience and envision how the user would move from one page to another. Create sequential sketches giving a basic outline of what goes where, just to denote the basic logic of your app design.
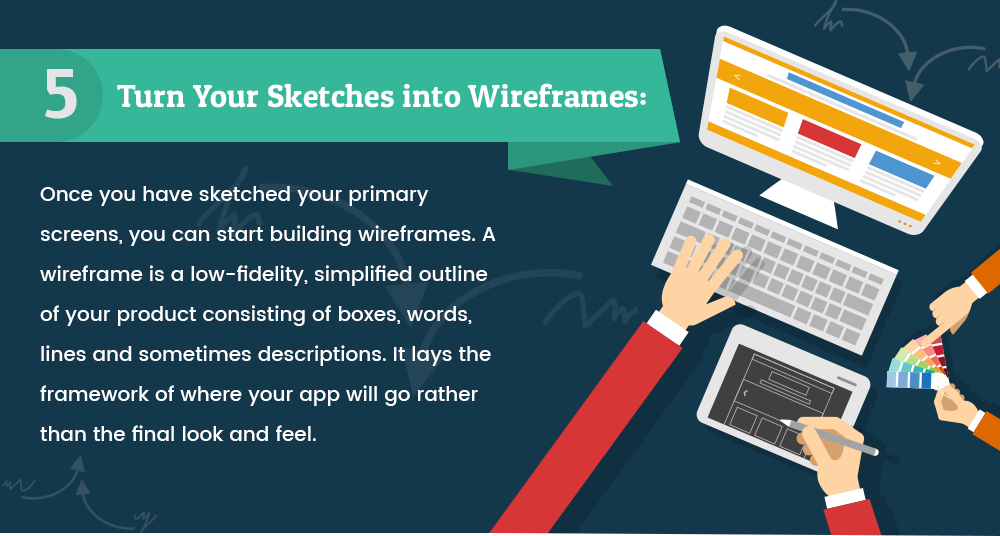
It’s now time to start making things a little more concrete. Once you’re happy with your sketches, it’s time to turn them into wireframes. Wireframes are kind of a low-fidelity prototype that serve as a basic outline of your app, that are more defined than the sketch, with placeholder text and images, relative sizes and other basic features that will help you truly see what the app might look like once done. This helps you test and refine your app’s navigation, refine the UI design as well as the UX, assess the requirements of developing and choose the right technology, assess the effectiveness of the page layout and clear up a lot of other things well in time.
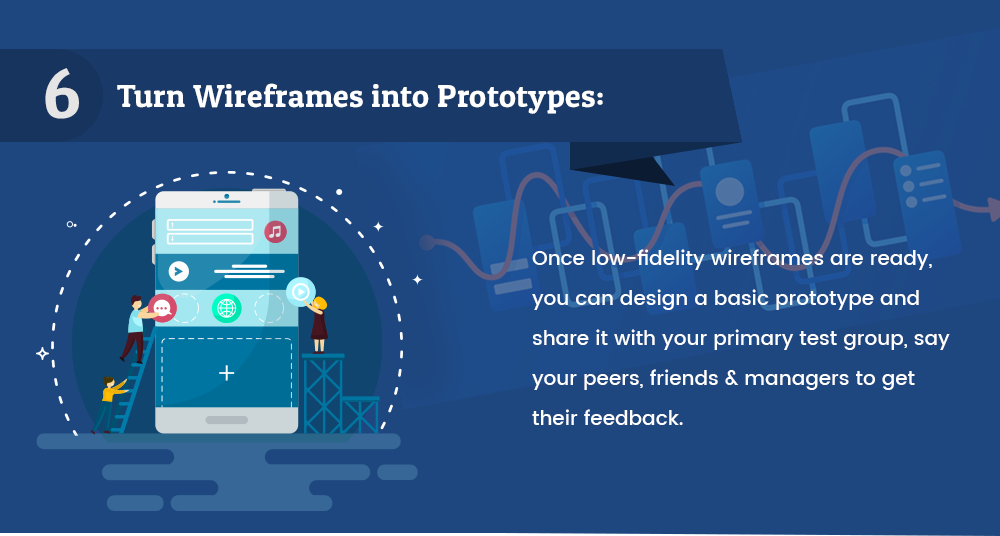
Once the basic low-fidelity wireframes are ready, you now have a good idea of what your app will look like. It’s now time to begin developing your first prototype. Prototyping helps bring your designs to life so that you can see it in action. From how pages will move from one to two and how user friendly the navigation is, to how the animated features and graphics will look, prototyping gives you a very visual perspective of your app. This helps you make any crucial changes or modifications before the app becomes really an app, making changes expensive to make. Prototyping also helps expedite the feedback process. So you don’t have to wait until you have a fully functional app to seek feedback from your stakeholders or user alpha testers.
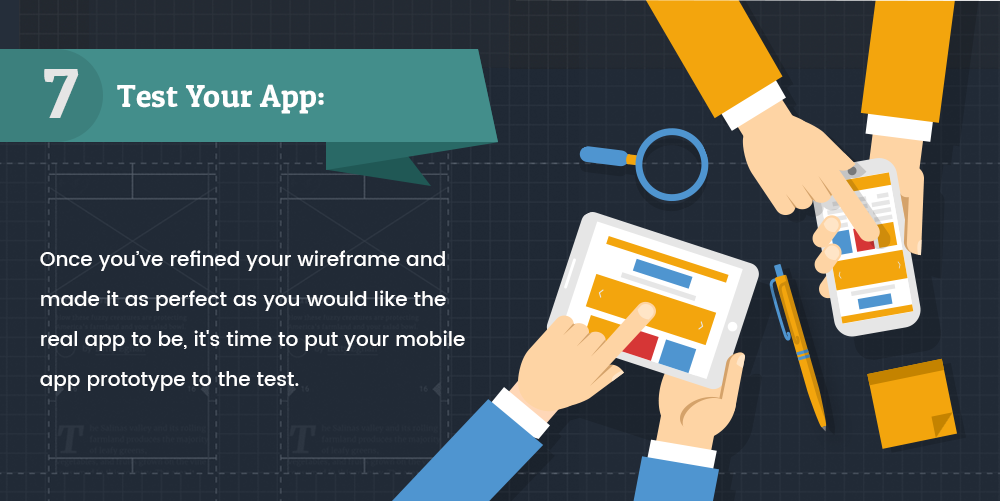
Testing is one of the most crucial components of app development, one that needs to be done many times over to really ensure a perfect code. Testing can in fact begin at the prototype stage giving you more time to test and iterate, as well as keeping the process more flexible. Whatever happens, don’t skimp out on the testing as it is critical to prevent bugs and keep the app working perfectly.
As mentioned above, prototyping gives you a chance to begin usability testing within a closed group of people, you could call them your alpha testers. For an app that your team has been working on for weeks now, spotting small navigational errors could be difficult. That is why you need to bring in outside help in the form of user groups or stakeholders and use this opportunity to get actual real-world feedback. This will help you further refine your prototype and nail the perfect UX.

As you might have realized by now, the entire process of first putting your app idea on paper to having a launch-ready product in your hands can take a reasonable amount of time. During this time that could range from weeks to months, there is a very real possibility of someone copying your idea making a copycat app out of it. Even if no one can steal your vision and execution, and cannot make an app as perfect as yours, because of all the hard work and original thinking, a copycat app hitting the stores just before your launch can gravely affect your novelty factor and eat away at your downloads. That is why you need to protect your app idea. Fortunately, there are ways like copyrighting, patenting and non-disclosure agreements to help you with this.
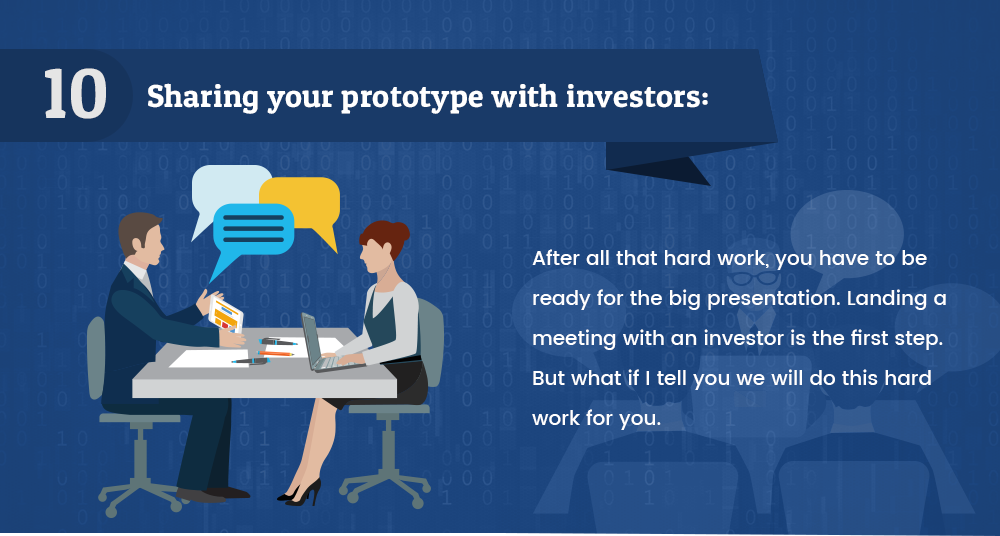
With a functional prototype ready, you are now ready to show the potential of your idea to investors. You need a well-planned presentation that will show them how worthy your app is of their investment is. It is a daunting task indeed, but your app development company will usually be able to help out or even do it for you.
So those are all the steps it takes to get your app idea to become a fully functional prototype. So do you have an idea brewing up in your head already? Get in touch with us and let’s talk it through.


We’ve completed 250+ projects as of last year, and that’s just a start.
Call us today to schedule a free consultation.
Like this infographic? Feel free to embed it on your site! Just copy this code:
                        <p>
                            Creating First Mobile App For Your Business
                            <a href="https://www.moveoapps.com/">Moveo Apps </a>
                        </p>
                        <p>
                            <a href="https://www.moveoapps.com/stages-in-app-development">
                              <img src="https://www.moveoapps.com/images/from-app-idea-to-prototyping.png"
                               alt=''
                               width='900px'
                               border='0'
                              />
                            </a>
                        </p>